Color Orbs
Overview
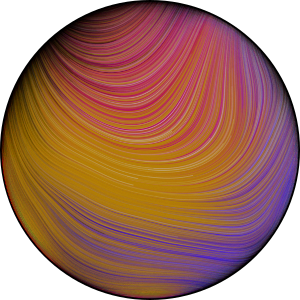
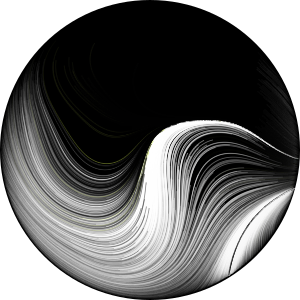
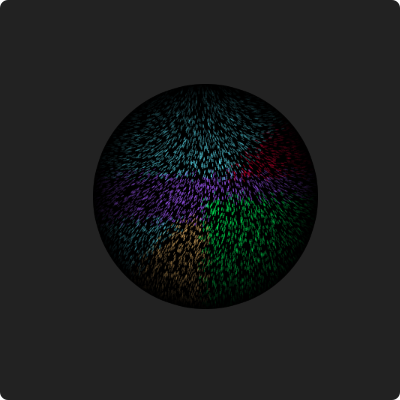
Color Orbs is a generative art project exploring color and texture in little animated orbs. Out of tens of thousands of Color Orbs that I've made, this is one of my favorites:
This page walks through some of my other favorite works from the gallery and walks you through how they were made. If you'd like to explore further you can browse the full gallery or make your own using my orb designer in your browser.
A guided tour
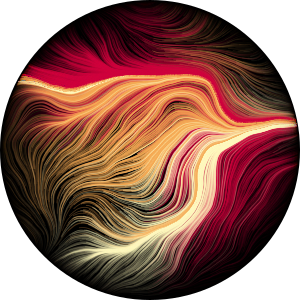
Each Color Orb has its own set of colors and settings (which I call its DNA) that determines what it's going to look like once it's drawn, like how chaotic it is:
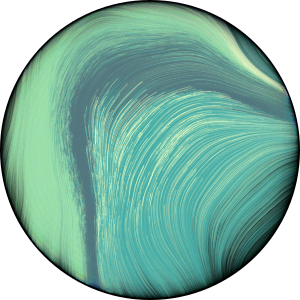
Or how smooth it is:

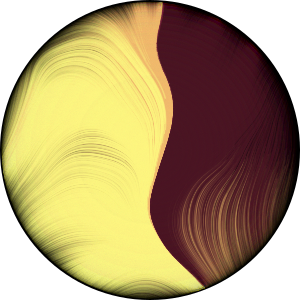
Randomness plays a huge part in the result though, epsecially in its shape. Here's another of my favorites that has a very different shape to the others:
The joy in this project comes from finding a particularly striking orb amidst all the randomness. If you play with the orb designer for a while you'll notice that many orbs that it generates are unremarkable. But every now and then you'll get something that feels special:
That might be for a numnber of reasons. For example, it might have a beautiful or uniquely interesting shape:
Or a pleasing texture:
Or pleasing colors:
Or a mixture of all three:

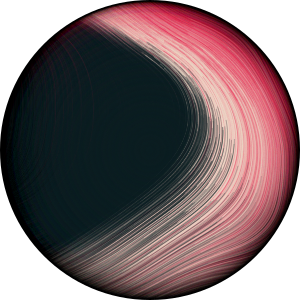
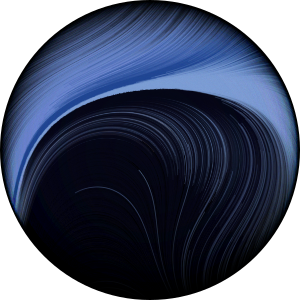
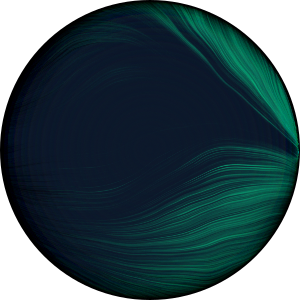
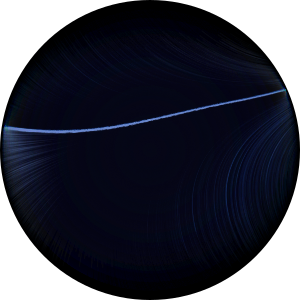
Or an overall mood, like the mysteriousness of this one:
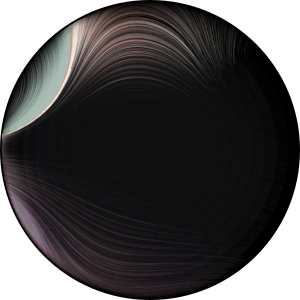
Or one may have an interesting story in its animation, like the way this one starts out as a pleasing band of colors and then gets sucked into 'oblivion', as if it's next to a black hole (press the play button):
Or one may have a narrative in its final image, like this one which, to me, feels like it's a planet cracking in half:
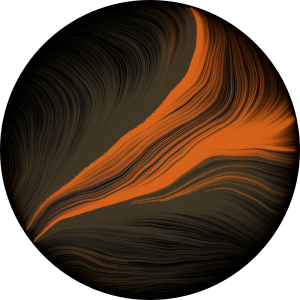
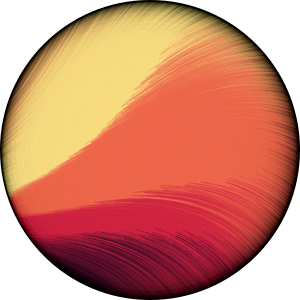
Or this one that reminds me of an O'keefe painting:
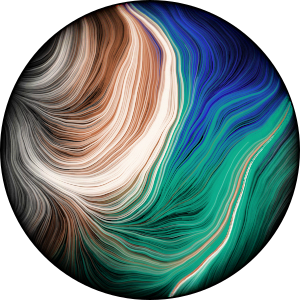
Or this one, which is based on colors from our own planet:
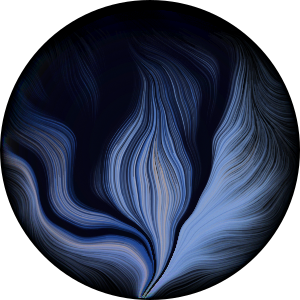
Or this one that looks like a whisp of smoke:
Or this one that always makes me feel hungry:
And then some others just somehow feel 'rare', even though they are all mathematically equally likely (and each is also astronomically rare by itself due to the number of randomzied variables each is born out of). Like this one which apparently didn't get the memo about being orb-like at all:
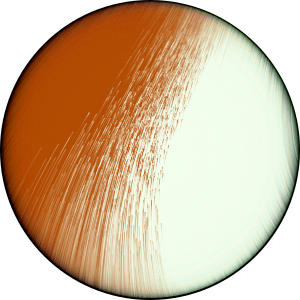
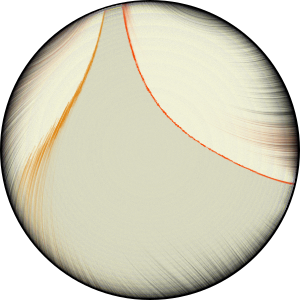
Or this interesting Albino orb with its flash of orange:
Browse the gallery
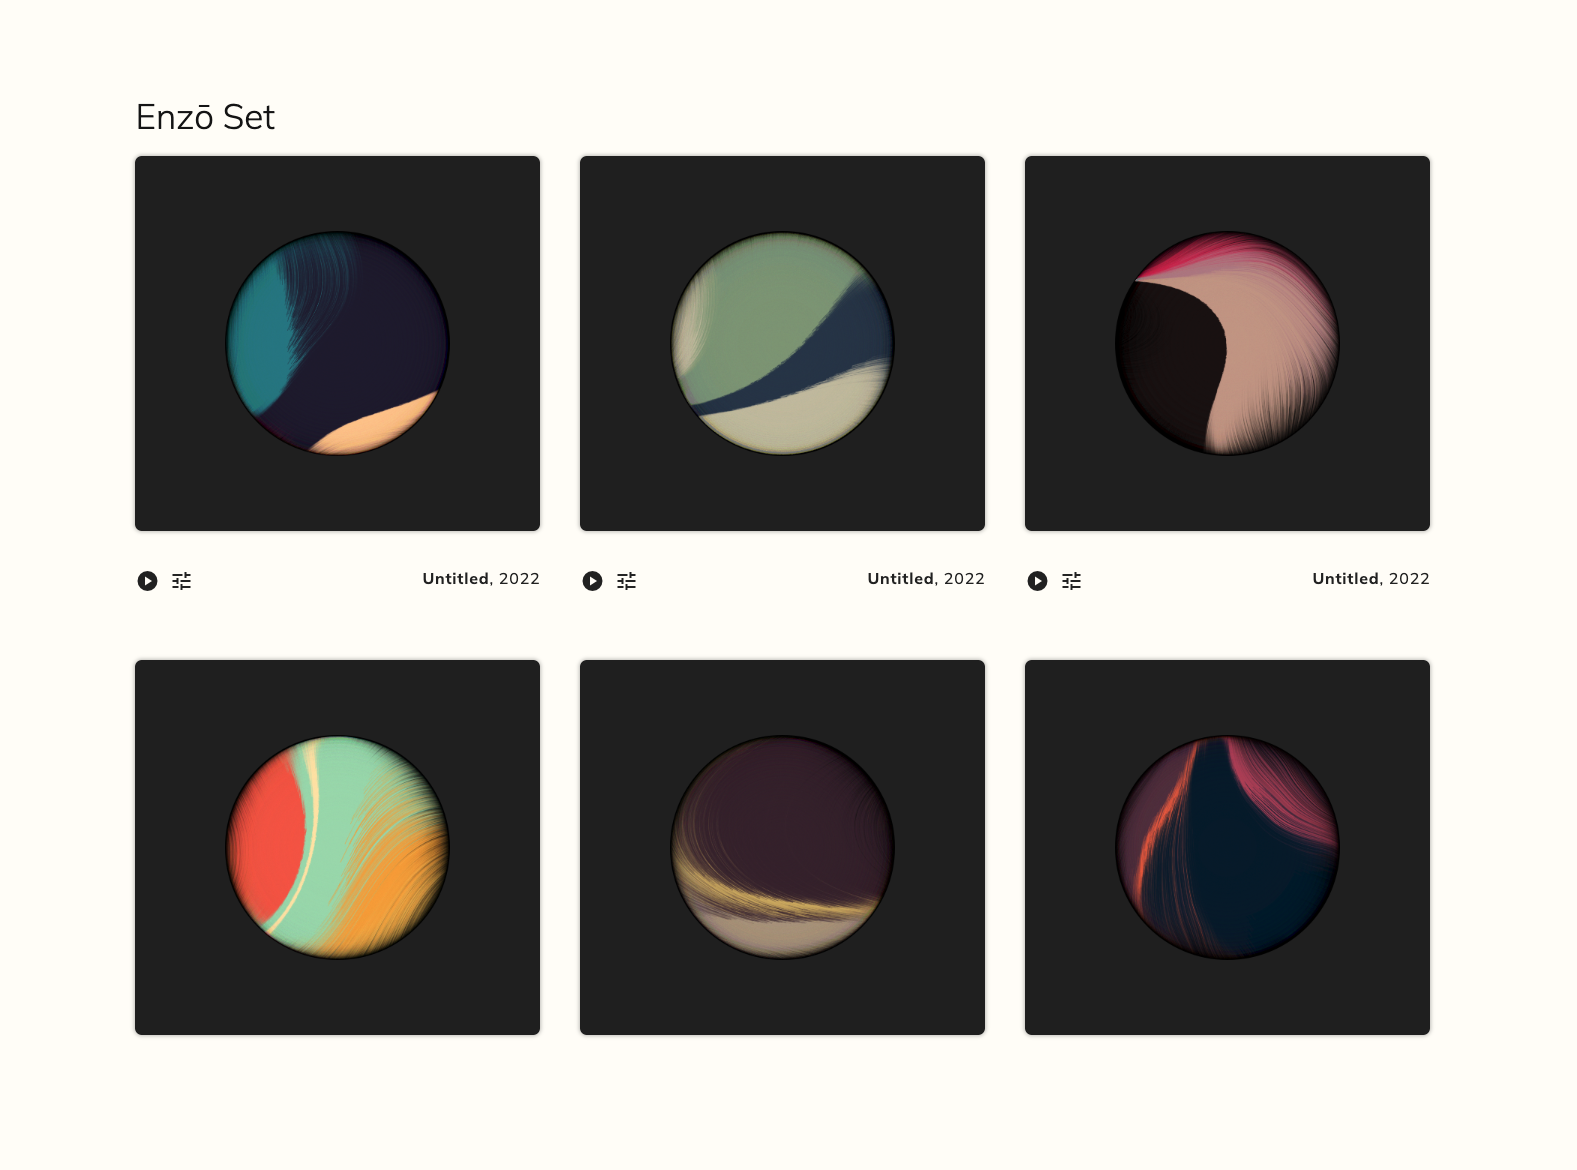
During 2021 and 2022 I created tens of thousands of these little orbs and I have curated my favorite hundred or so into ten collections, each with its own theme, which you can browse in the gallery:
Make your own
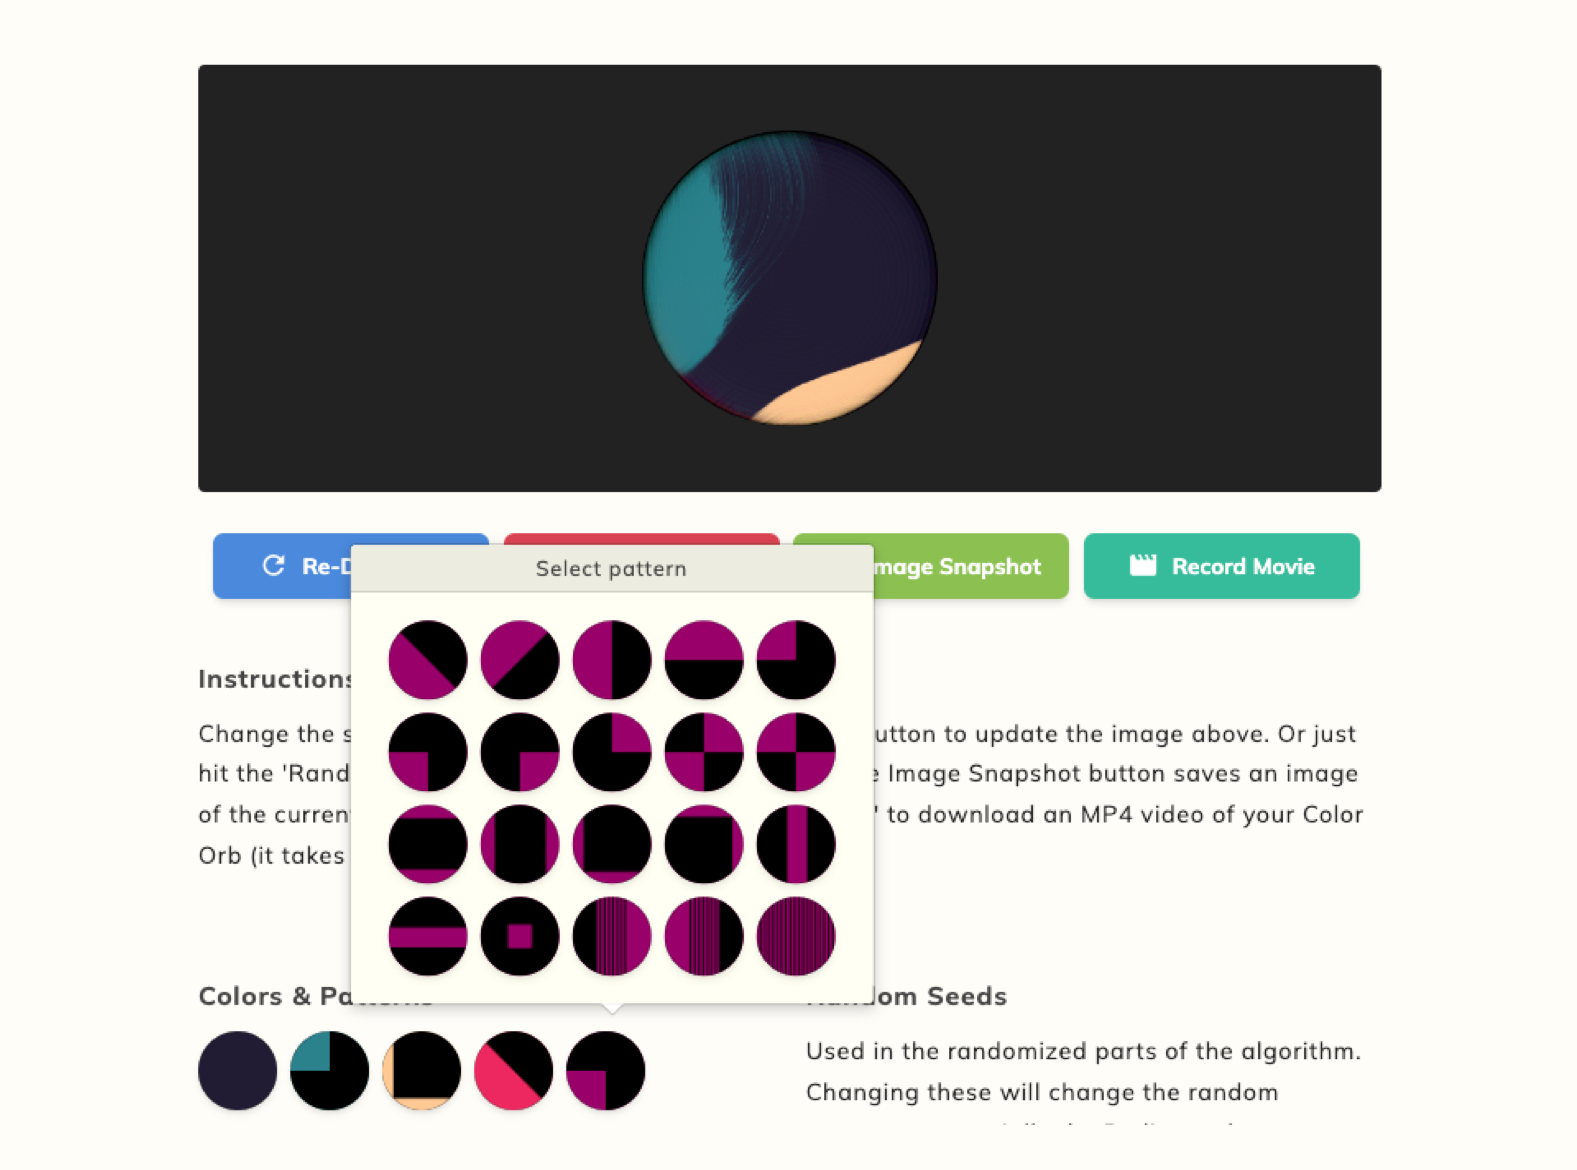
You can make your own Color Orbs using my Orb Designer. You can also click the edit () icon next to any that I've made to see how it was constructed.
This tool isn't how I made the majority of the Color Orbs in the gallery as it would be far too slow to make hundreds at a time, so I have a script that makes many at a time and puts them into a sorting gallery for me to sift through.
It is, however, a really great way to explore how all the different variables that create a Color Orb affect the end result. It gave me a lot of the intuition I used while tweaking the Color Orbs algorithm to output more interesting or beautiful works.
If you hit 'Randomize' enough times you might find one you love! Each Color Orb you make in the deisnger has a unique, sharable URL. So if you make one you like you can save it and share it around, if you like. You can also export an image or movie version if you prefer. Have fun!
Technical details: how they are made
Color Orbs was created using p5.js as well as an excellent third-party Node.js implementation called p5js-node by Flam3rboy, which lets you render P5.js sketches in headless mode (drawing straight to an image rather than to your screen). I use this when I'm making many hundreds or thousands of orbs at a time. P5.js code can be used almost interchangeably with p5js-node code, so although the snippets below will focus on the latter it should translate directly to the former.
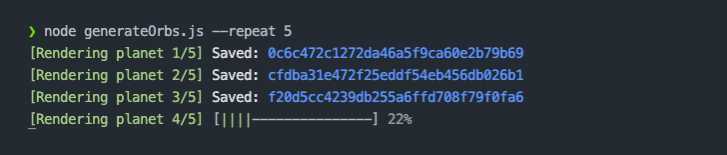
Screenshot of my script using p5js-node that renders Color Orbs in headless mode. A lot faster than working in the browser!
Reader Assumptions
I'm going to assume familiarty with P5.js (or Processing.org) for my code snippets and explanations below, and so I'm only going to give a high-level overview of how the code works, rather than a step-by-step tutorial as the codebase is a couple of thousand of lines long. If I get enough requests then I might flesh this out in more detail as a beginner guide. Let me know!
If you're not familiar though and you'd like to learn about how the code below works, P5.js's documentation is a great place to start.
Perlin Noise
Color Orbs makes heavy use of Perlin Noise to create a "flow field" for the lines to flow across when creating each orb. This is what makes the lines all flow together elegantly as one group without crossing over each other.
If you're not yet familar with how Perlin Noise works, an excellent deep-dive is available here by Adrian Biagioli. Tylyer Hobbs also has a beautifully illustrated article on creating flow fields here. Daniel Shiffman also has a great YouTube tutorial on Perlin Noise & Flow Fields.
Picking Colors and Patterns
We start the color orb off by selecting some colors (I usually use five) and placing a few hundred dots across a circle. Here's how we might draw those dots (without color for now) on a circle:
    // For each point (x, y) in a square of width, height
    for (let x = 0; x < width; x += 1) {
        for (let y = 0; y < height; y += 1) {
            // Only draw a point if it falls within the circle radius
            if(dist(width/2, height/2, x, y) < (circleSize - 1)) {
                ellipse(x, y, 1);
            }
        }
    }
We now have something like this:
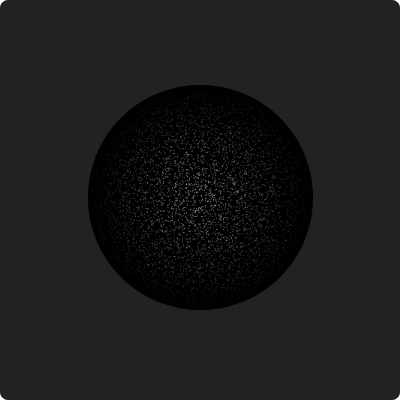
My simplified code above doesn't have a fade effect at the circle edges or slighlty randomized placement of the dots like in the image above. There's code for that lower down.
But rather than using only one color, we want to place different colors on the starting grid, in different places. So we begin by selecting some colors to use and a different pattern for each color to be placed. So for example, if these patterns were chosen...
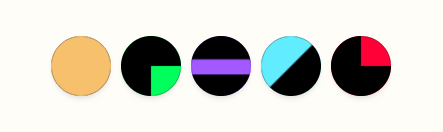
...Then the following would be drawn on the circle as a starting point:
The colors are drawn on the circle from right to left, except for the left-most one, which is always a "base" color that fills in any of the gaps that the other patterns didn't fill.
To make this happen, we need to only draw a dot for each color
when the pattern for that dot is true. So we define the shape of each pattern we want to use as a graphical function, like this:
    let patterns = {
        "bottom-right-quadrant": (x, y) => y > height/2 && x > width/2,
        "center-line-horizontal": (x, y) => y > height*0.4 && y < height*0.6,
        "diagonal-negative": (x, y) => x + y < width,
        "top-right-quadrant": (x, y) => y < height/2 && x > width/2,
      }
This patterns array contains a list of JavaScript functions, each corresponding to a pattern to draw,
which evaluates to true when the pattern should be drawn, and false otherwise.
So, for example, the right-most pattern top-right-quadrant fills the top-right part of the circle in red. It does that
by defining it's graphical function (x, y) => y < height/2 && x > width/2 using the JavaScript arrow function notation, which is equivalent to:
    function topRightQuadrant(x, y) {
        if (y < height/2 && x > width/2) {
            return true;
        } else {
            return false;
        }
    }
Which, given an (x, y) coordinate will return true if both x and y
are in the upper right part of the grid. So we can modify our original nested loop that draws the dots to only draw each color when
its corresponding pattern is true:
    // For each point (x, y) in a square of width, height
    for (let x = 0; x < width; x += 1) {
        for (let y = 0; y < height; y += 1) {
            // Only draw a point if it falls within the circle radius
            if(dist(width/2, height/2, x, y) < (circleSize - 1)) {
                // Simplified example using only two colors
                if (patterns["top-right-quadrant"](x, y)) {
                    fill(red);
                    ellipse(x, y, 1);
                } else if (patterns["diagonal-negative"](x, y)){
                    fill(blue);
                    ellipse(x, y, 1);
                }
                //...and so on
            }
        }
    }
From there, in the draw() loop of P5.js, you can proceed to animate the Color Orb by adding another dot
of the same color of each existing dot to create lines. We want this to flow along in a fluid manner without lines
crossing each other, so this is where Perlin Noise comes in. See the P5.js noise function documentation
to understand its paramaters.
Instead of drawing the points directly to the screen at first, like in the code above, you add them to an array of vectors
in the P5.js setup() function.
This allows you to iterate through each point to draw a new dot (next to its predecessor, with its location chosen by the Perlin Noise function)
every time the draw() loop runs. This causes
lines to be drawn a dot at a time for each iteration of the draw() loop.
For the code below, I'll assume you initialized a points array of vectors (dots) and their corresponding colors in the setup()
function instead of writing them to the screen as we did above. Then, in the draw() function you can iterate through it and place the next
batch of dots to grow each line by one dot.
    // iterate through all points
    for (let i = 0; i < points.length; i++) {
      // limit the drawing area to a circle.
      if(dist(width/2, height/2, points[i][0].x, points[i][0].y) < circleSize) {
        // Place next point in each line according to P5.js Perlin Noise function
        // Map the noise output to the circle (the 720 represents 720 degrees)
        let angle = map(
                        noise(points[i][0].x, points[i][0].y),
                    0, 1, 0, 720);
        points[i][0].add(createVector(cos(angle), sin(angle)));
        // fade out towards end of circle
        let alpha = map(dist(width/2,
                        height/2,
                        points[i][0].x,
                        points[i][0].y), 0, circleSize, 100, 0);
        // Draw the point
        // Assumes color was set previously as HSB values for each point during setup()
        noStroke();
        colorMode(HSB, 360, 100, 100, 100)
        fill(points[i][1]['h'], points[i][1]['s'], points[i][1]['b'], alpha)
        ellipse(points[i][0].x, points[i][0].y, 1);
      }
    }
Artist Acknowledgments & Inspirations
This art project was directly inspired by the ‘Noise Planets’ created by Atul Vinayak and 'Perlin Planets' by Vinay Bhaip who were in turn inspired by Tyler Hobbs’ generative artwork piece, 'Lines 2A'.